Step-by-Step Guide to Installing Solar Panels on a Tile Roof
Step-by-step-guide-to-installing-solar-panels-on-a-tile-roof
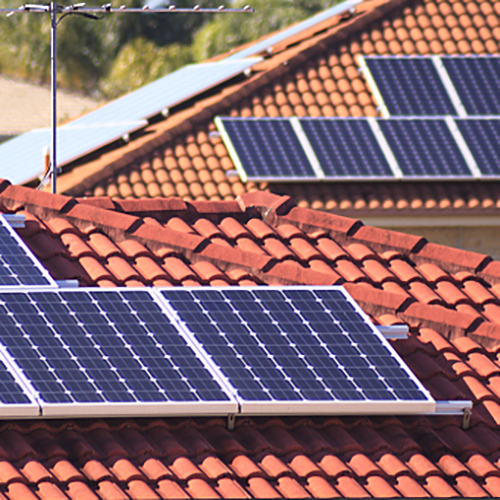
1.Evaluate the roof structure: Confirm that the roof is sturdy enough to support the weight of solar panels. If unsure, consult a professional architect or engineer to assess whether the roof can meet the necessary load requirements.
2.Measurement and planning: Measure the roof's area and orientation to determine the best layout for the solar panels. Ideally, they should be installed in a south-facing or south-southeast/south-southwest direction to maximize sunlight exposure.
3.Prepare materials and tools: Purchase the appropriate solar panels, mounting brackets, cables, junction boxes, and other necessary equipment. Gather the required tools such as drills, wrenches, and cable strippers to ensure a smooth installation process.
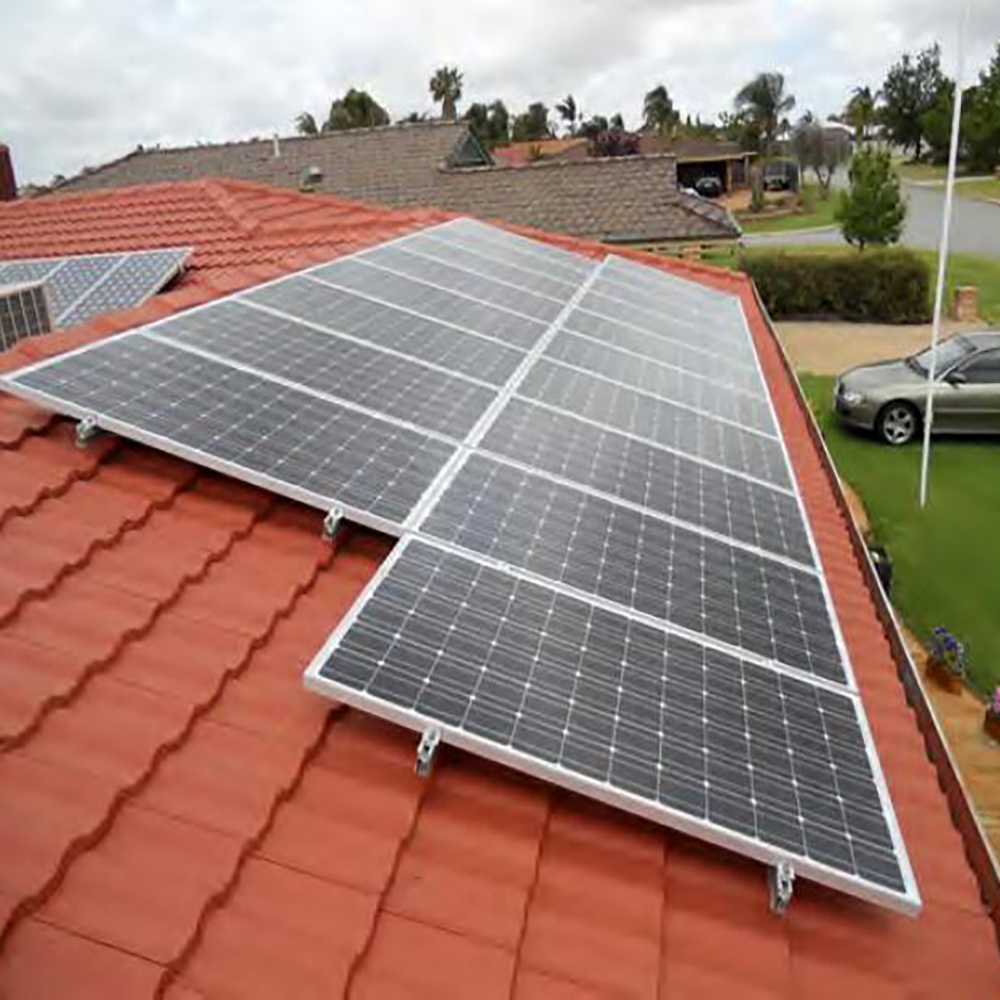
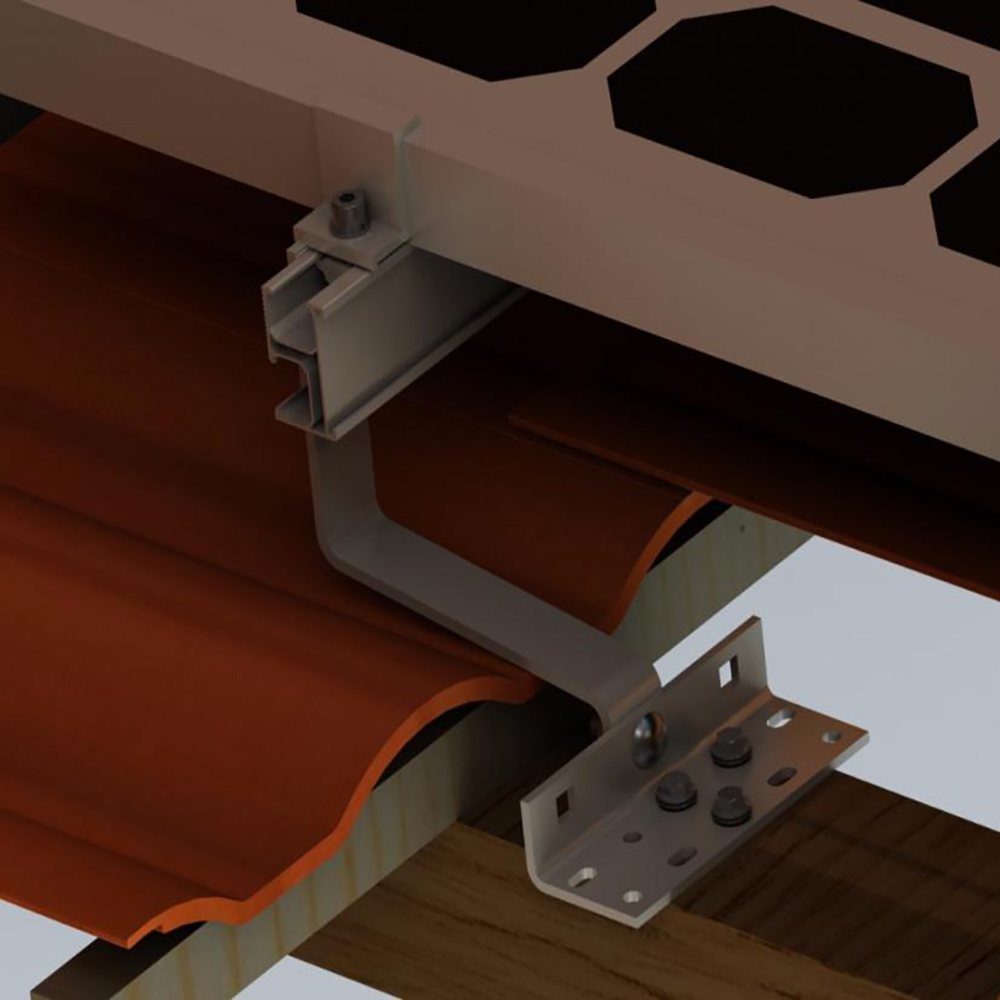
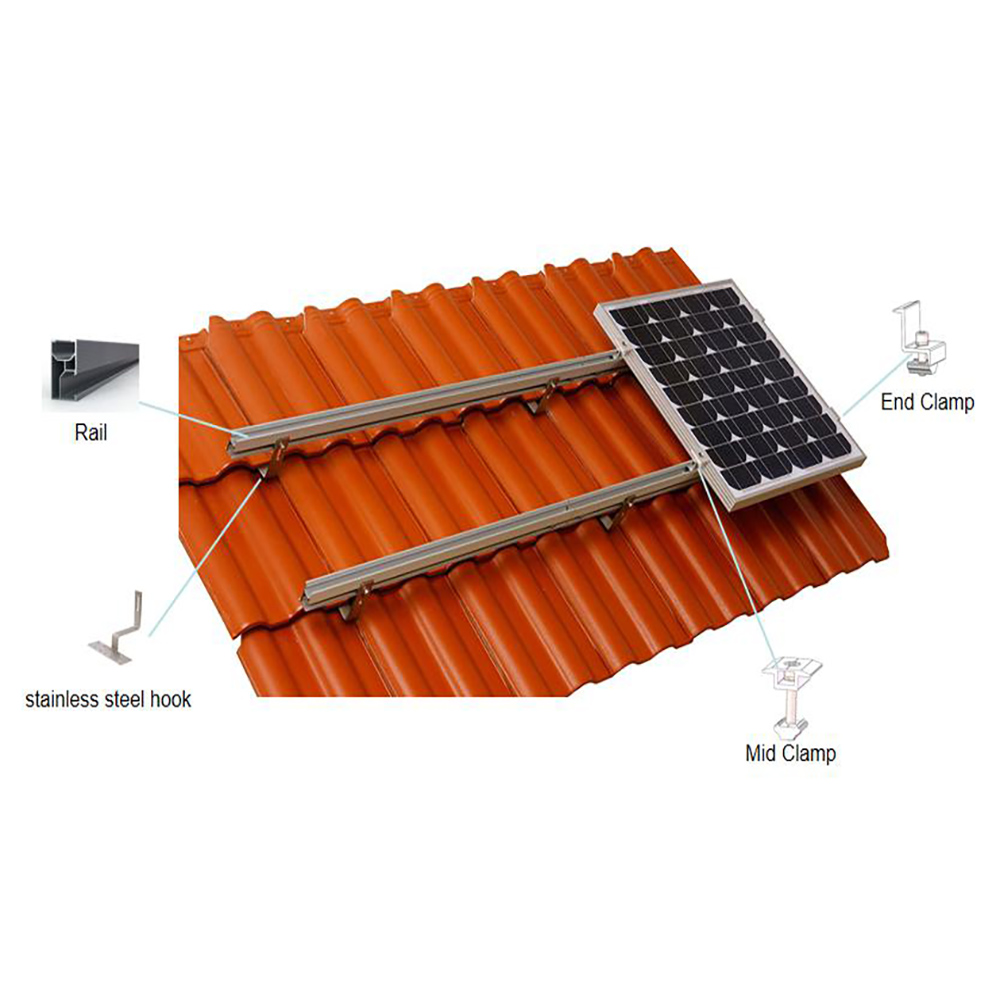
4.Install mounting brackets: Secure the brackets to the roof, ensuring they can support the weight of the solar panels and withstand wind loads. The brackets should be stable and installed according to the panel’s dimensions and weight specifications.

5.Install solar panels: Attach the solar panels to the mounting brackets and fasten them securely with screws. Follow the manufacturer's instructions and installation manual to ensure a safe and reliable setup.
6.Wiring and connections: Connect the solar panels to inverters or battery storage systems using suitable cables and junction boxes. Ensure that all wiring is properly insulated and complies with electrical safety standards.
7.Safety precautions: Prioritize safety during installation by using appropriate personal protective equipment like helmets and safety harnesses. Adhere to all safety guidelines and recommendations throughout the process.
Note: The installation method for tile roofs can vary depending on factors such as tile type, roof shape, and materials. For specific guidance, it is recommended to consult a professional solar installer or engineer to ensure a safe and accurate installation.

